If you're a volunteer firefighter wondering whether the fenix pd35 v3 for volunteer firefighters helmet mount overhaul is worth the effort, the short answer is yes — with the right clamp, a properly sized rubber shim, and a quick switch-side reorientation, the PD35 V3 becomes one of the most reliable secondary lights you can run on a structural or wildland helmet. This overhaul guide walks through the exact bracket style that fits a 1-inch flashlight body, how to keep the tail switch reachable with structural gloves, the beam profile you actually want when you're crawling a smoke-filled hallway, and the small modifications (lanyard, anti-roll ring, lockout protocol) that turn a pocket EDC light into a duty-ready helmet rig.
Volunteer firefighters rarely get issued a dedicated helmet light. Most of us buy our own, and the budget conversation usually lands on the Fenix PD35 V3 because it pushes 1700 lumens, runs on a single 21700, and survives drops onto concrete. The catch is that it ships as a tactical EDC light — not a helmet light — so the overhaul we're describing here is about adapting hardware you can buy at retail into a working fire-service tool. Nothing in this guide voids the warranty, and everything can be reversed in under a minute if you want the light back in your pocket for off-duty carry.
When shopping for fenix pd35 v3 for volunteer firefighters helmet mount overhaul, it pays to compare specs, capacity, and real-world runtime before committing.
Why the PD35 V3 keeps showing up on volunteer helmets
The PD35 V3 has a 25.4 mm head and a 21.5 mm body tube, which matters because almost every aftermarket helmet clamp is built around the 1-inch (25.4 mm) standard. That single dimensional coincidence is why this light dominates the volunteer side of the fire service: you can drop it into a Streamlight-style helmet bracket, a generic aluminum picatinny ring, or a rubberized goggle-strap clamp and it just works. Compare that to lights with stepped bodies or proprietary diameters and you'll understand why the PD35 V3 became the unofficial standard at half the volunteer departments in North America.
Beyond the dimensions, the run-time profile is right for fire-ground work. On medium (350 lumens) you get roughly 5 hours and 15 minutes per charge — enough for two back-to-back structure calls without swapping the battery. The reflector throws a defined hotspot at about 376 meters, which is overkill for interior work but invaluable when you're walking a perimeter, scanning a wildland line, or trying to see across a foggy parking lot during MVA traffic control. For a deeper dive into the light itself before you commit to mounting it, see our full Fenix PD35 V3 review.
The fenix pd35 v3 for volunteer firefighters helmet mount overhaul, step by step
Step 1: Pick the right clamp body
You want a rigid aluminum clamp, not a plastic one. Plastic creeps under heat — even modest radiant heat from a working fire will deform a polymer bracket within a few alarms, and you'll feel the light start to droop. Look for a CNC-machined 6061 aluminum ring with a thumbscrew tensioner and an integrated rail or strap interface. The two most common styles are: (a) a flat-base clamp with peel-and-stick 3M VHB tape for direct shell mounting, and (b) a strap-through clamp that loops around the helmet's existing webbing or goggle strap. Strap-through is the only style we recommend for structural helmets, because direct adhesion to a thermoplastic helmet shell can compromise the shell's listed performance and create a delamination point.
Step 2: Shim it correctly
A bare aluminum clamp on a bare aluminum flashlight body will work loose. The PD35 V3 has a knurled body, which helps, but the real fix is a 1 mm thick silicone or EPDM rubber shim cut to wrap the contact zone. Silicone tolerates the heat better; EPDM is cheaper and grippier when wet. Cut a strip about 18 mm wide and long enough to wrap the body once with a 2 mm overlap, then tighten the clamp around it. The shim does three jobs at once: it prevents rotation under jolts, it dampens vibration so the tail switch doesn't false-trigger when you're chopping with a Halligan, and it electrically isolates the light body from anything conductive on the helmet.
Step 3: Reorient the switch
This is the step most people skip. The PD35 V3 has a side switch for mode changes and a tail switch for momentary/constant on. On your helmet, the tail switch needs to face rearward and slightly downward so you can hit it with a gloved thumb without taking the helmet off. Loosen the clamp, rotate the light until the side switch is at roughly the 2-o'clock position when viewed from the front (this puts it under your thumb's natural arc when you reach up), and re-tighten. Verify with structural gloves on — bare-hand testing will mislead you every time. If you're new to building out a kit like this and want a broader primer on layout logic, our guide on how to pack an EDC kit like a pro covers the same ergonomic principles applied to pocket carry.
Step 4: Lanyard it
Every helmet light gets knocked loose eventually. A 550 paracord lanyard from the tail cap loop to the helmet's rear ratchet or chinstrap D-ring means the light dangles instead of disappearing into a debris pile. Keep the lanyard short enough that the light can't swing into your eye protection if the clamp lets go — about 8 inches is the sweet spot. Use a girth hitch at the helmet end so you can remove the light for cleaning without cutting anything.
Step 5: Lockout protocol
The PD35 V3 has electronic lockout: hold the side switch for three seconds from off, and the light won't activate from the tail switch until you unlock it the same way. Use this every time the helmet goes back in the rig. A helmet light that turns itself on in a gear bag will drain a 21700 in a single shift and, worse, can heat-soak inside an enclosed compartment. Make lockout the last thing you do before the helmet hits the shelf.
Beam profile considerations for fire-ground use
The PD35 V3 is a thrower-leaning light, which is a double-edged sword on a helmet. The defined hotspot is excellent for outdoor scene work — overhaul on a structure, wildland mop-up, traffic incident lighting — but inside a smoke-charged room, a tight hotspot bounces back at you and reduces near-field visibility. Two mitigations work well:
- Diffuser cap. Fenix sells a 25.4 mm traffic-wand diffuser that snaps over the head. Slide it on for interior work, pull it off for exterior. Tuck it into a turnout coat pocket between uses.
- Mode discipline. Drop to medium (350 lm) or low (150 lm) the moment you're inside. High and turbo are exterior-only modes on a helmet — anything more will white out your near vision the moment the beam catches smoke or steam.
For more on getting the most out of the battery you'll burn through running these modes, our piece on how to maximize flashlight battery life covers cell rotation, charge cycles, and storage practices that translate directly to fire-service use.
Battery and charging considerations
The PD35 V3 ships with a Fenix-branded 21700 with a built-in USB-C port, which is convenient but also the part most likely to fail you on a long incident. Two-deep your batteries: keep one in the light, one charged in your turnout pocket, and a third on the truck charger. Always rotate the spare into the light at the start of every shift so you know the cell in service is fresh. The light will also run on a single CR123A pair or an unprotected 18650 in a pinch, which is worth knowing when you're three hours into a wildland deployment and the helmet light starts blinking the low-voltage warning.
Heat is the silent killer of 21700 cells in fire service. Never leave a charged battery in a turnout coat that's sitting in a sun-baked rig bay, and never charge a battery that's still warm from use. Let it cool to ambient before plugging it in. A 21700 that's been heat-soaked once will still work — one that's been heat-soaked repeatedly will swell, vent, or simply stop holding a charge halfway through a call.
What the overhaul doesn't fix
The PD35 V3 isn't intrinsically safe rated. That means it isn't certified for use in atmospheres with potentially explosive concentrations of flammable gas or dust. For 99% of volunteer fire calls — structures, MVAs, brush fires, EMS assists — this doesn't matter. For the rare confined-space, refinery, or grain-elevator response, you need a dedicated intrinsically safe light and the PD35 V3 stays in the rig. Know the difference and don't let the convenience of a helmet-mounted PD35 V3 make you forget to grab the right tool for the right atmosphere.
It's also not certified to any specific impact standard for headborne use. The light itself will survive a 1-meter drop onto concrete (the spec sheet says so, and our experience backs it up), but the clamp-to-helmet interface is only as strong as the clamp you bought. Inspect the clamp screws every shift change.
Backup and complementary tools
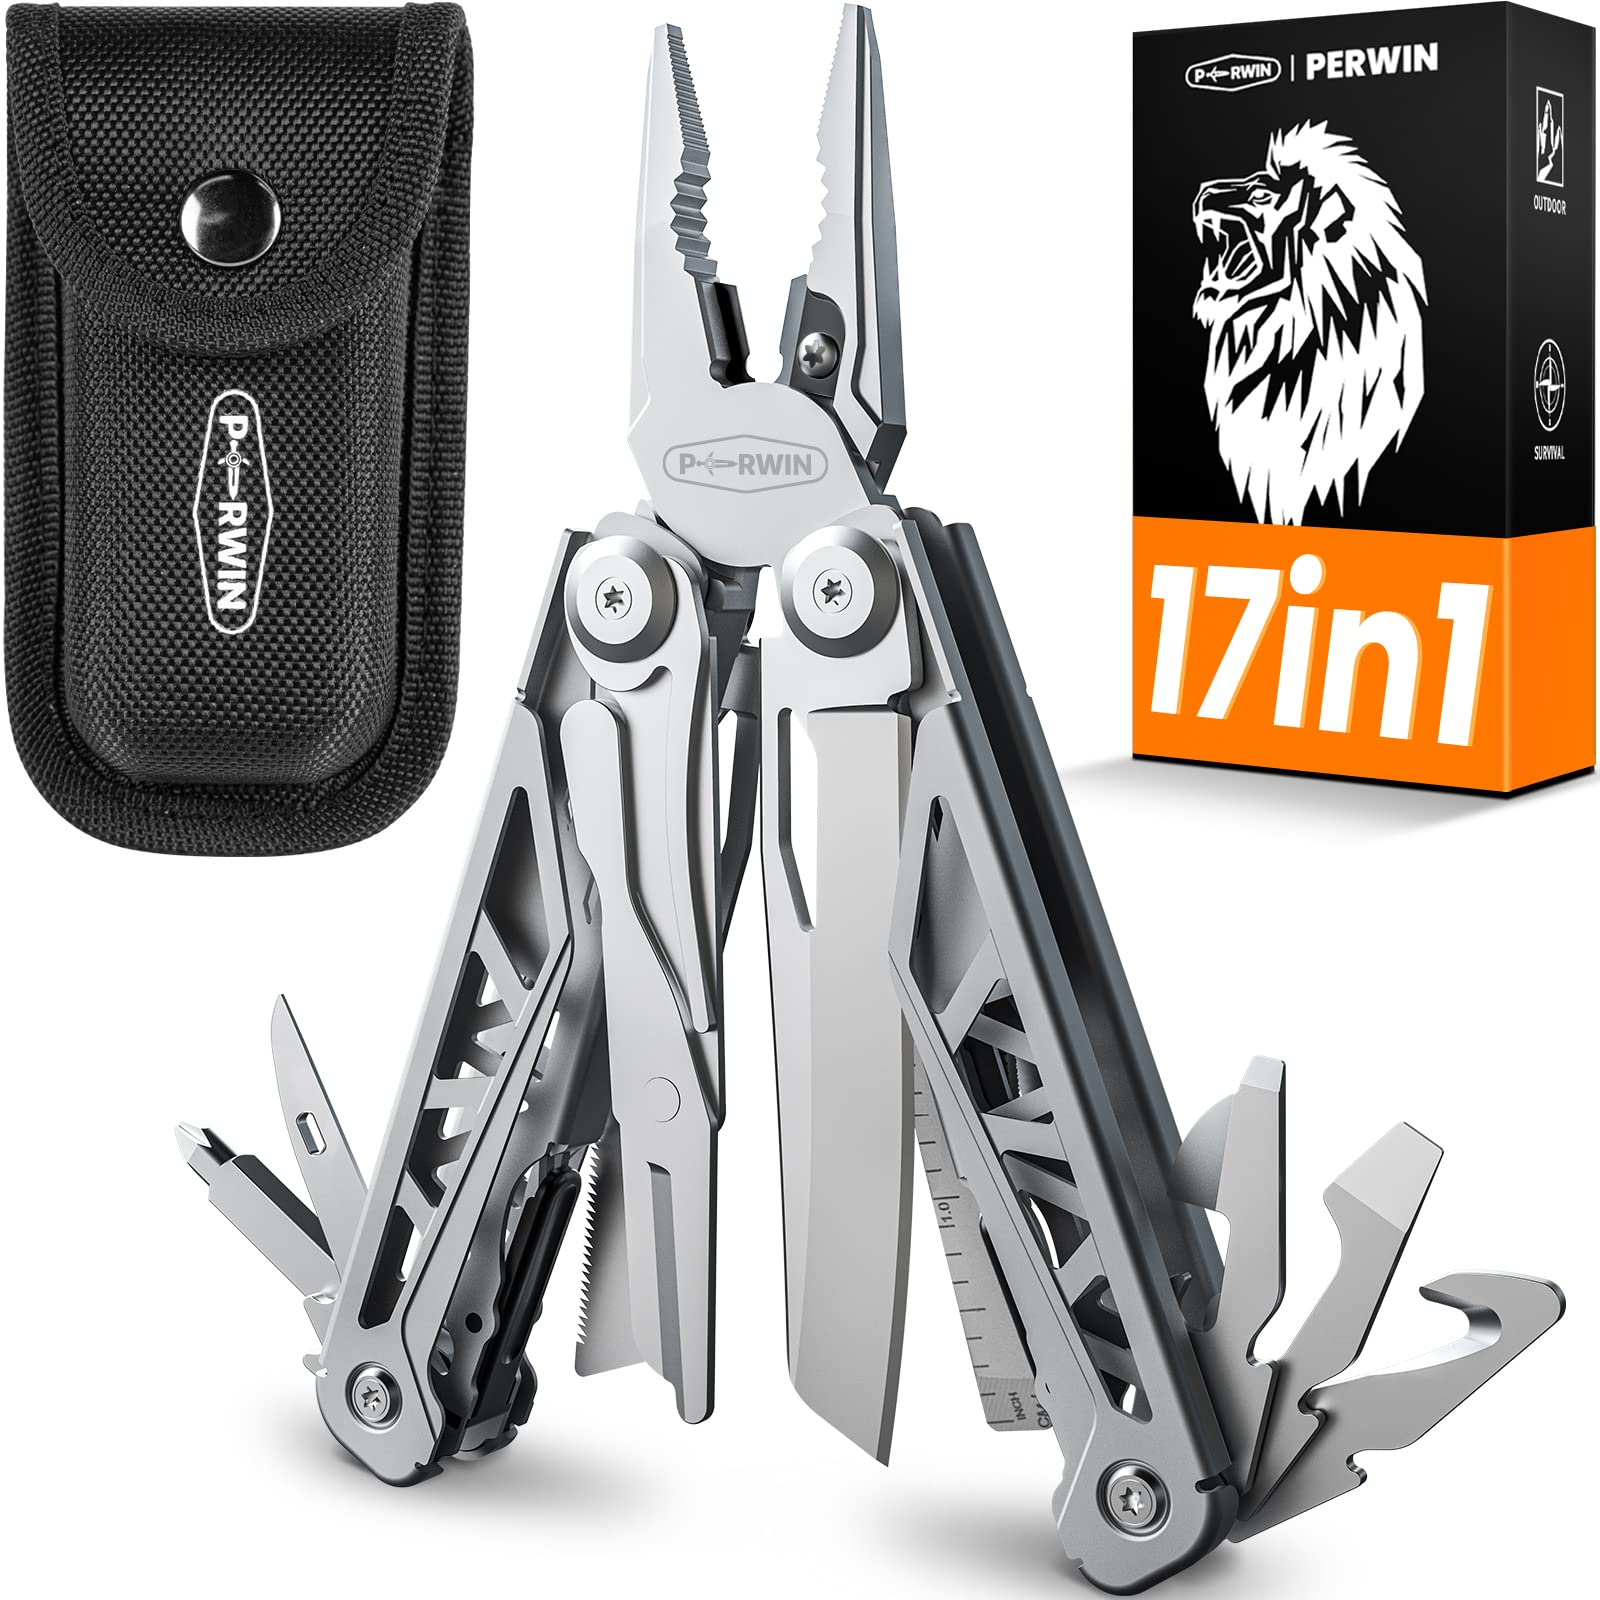
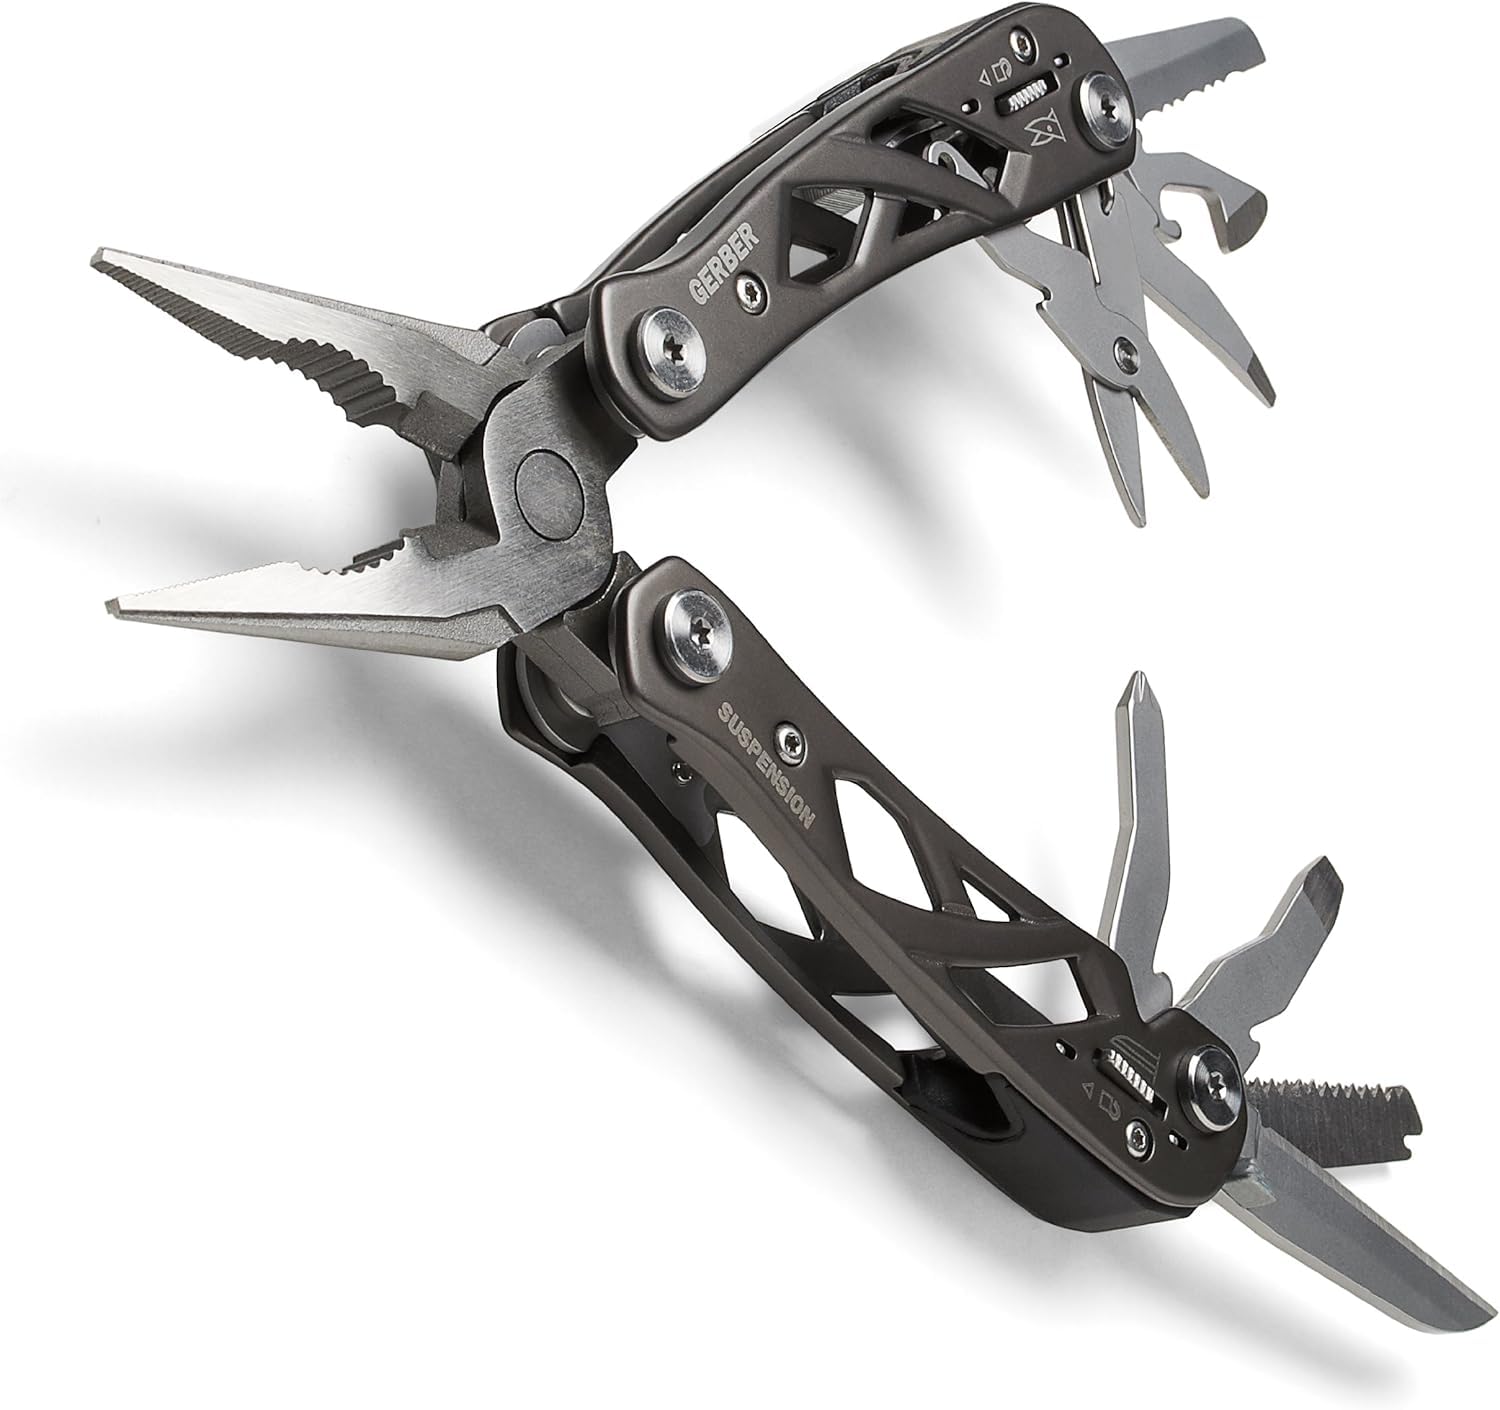
Even with a perfect helmet rig, every volunteer firefighter should carry a secondary handheld light. A right-angle light on the turnout coat is the traditional pick because it free-stands and points where you need it during patient care. A pocket multitool rounds out the kit for cutting webbing, prying a stuck latch, or stripping a wire on the scene. If you're building this layer of the kit out, our guide to the top multitools for everyday carry in 2026 is a useful starting point for shortlisting models that survive turnout-pocket abuse.
Maintenance schedule
A helmet-mounted light lives a harder life than a pocket light. Build these checks into your post-call routine:
- After every call: Wipe the lens with a microfiber cloth. Soot and salt residue etches the AR coating if it sits.
- Weekly: Cycle through all modes. Verify lockout works. Check clamp screw torque by hand — a quarter turn past finger-tight is the target.
- Monthly: Remove the light, inspect the shim for tears or compression set, replace if it looks tired. Lubricate the body and tail-cap o-rings with a tiny dab of silicone grease.
- Quarterly: Rotate batteries out of service for a full discharge-and-recharge cycle. Test each cell's actual capacity if you have a smart charger that supports it.
Frequently Asked Questions
Can I mount the Fenix PD35 V3 directly to a structural fire helmet shell with adhesive?
We don't recommend it. Most structural helmet shells (whether thermoplastic or composite) carry NFPA performance ratings that assume an unmodified shell. Permanent adhesive mounts can create stress risers, interfere with future inspections, and may violate your department's SOPs. Use a strap-through clamp that loops the existing webbing or chinstrap hardware instead.
Will the PD35 V3 survive interior structural firefighting temperatures?
The light's specified operating range is below typical structural fire interior temperatures, but the realistic exposure on a helmet is much lower than the air temperature because the helmet shields the light from direct radiant heat. We've run PD35 V3s through dozens of working fires with no observable damage. That said, treat the light as a consumable — inspect it after any high-heat exposure, and replace it the moment the body finish starts to discolor or the o-rings feel brittle.
What's the best helmet clamp size for a Fenix PD35 V3?
Any clamp labeled for a 1-inch (25.4 mm) flashlight body. The PD35 V3's body tube is 21.5 mm and the head is 25.4 mm, so the clamp grips the head section. Verify the clamp's clear inner diameter before buying — a few cheap clamps advertise 25.4 mm but measure 24.8 mm internally, which won't seat.
Can I use the PD35 V3 as my only light on a fire call?
You can, but you shouldn't. Single-light operations leave you blind the moment a battery vents or a clamp slips. Helmet-mount the PD35 V3 as your primary, carry a right-angle backup on your turnout coat, and keep a small AAA-powered light in a pants pocket. Three lights, three batteries, three failure points that have to fail at the same time.
How does the PD35 V3 compare to other tactical lights for fire-service helmet mounting?
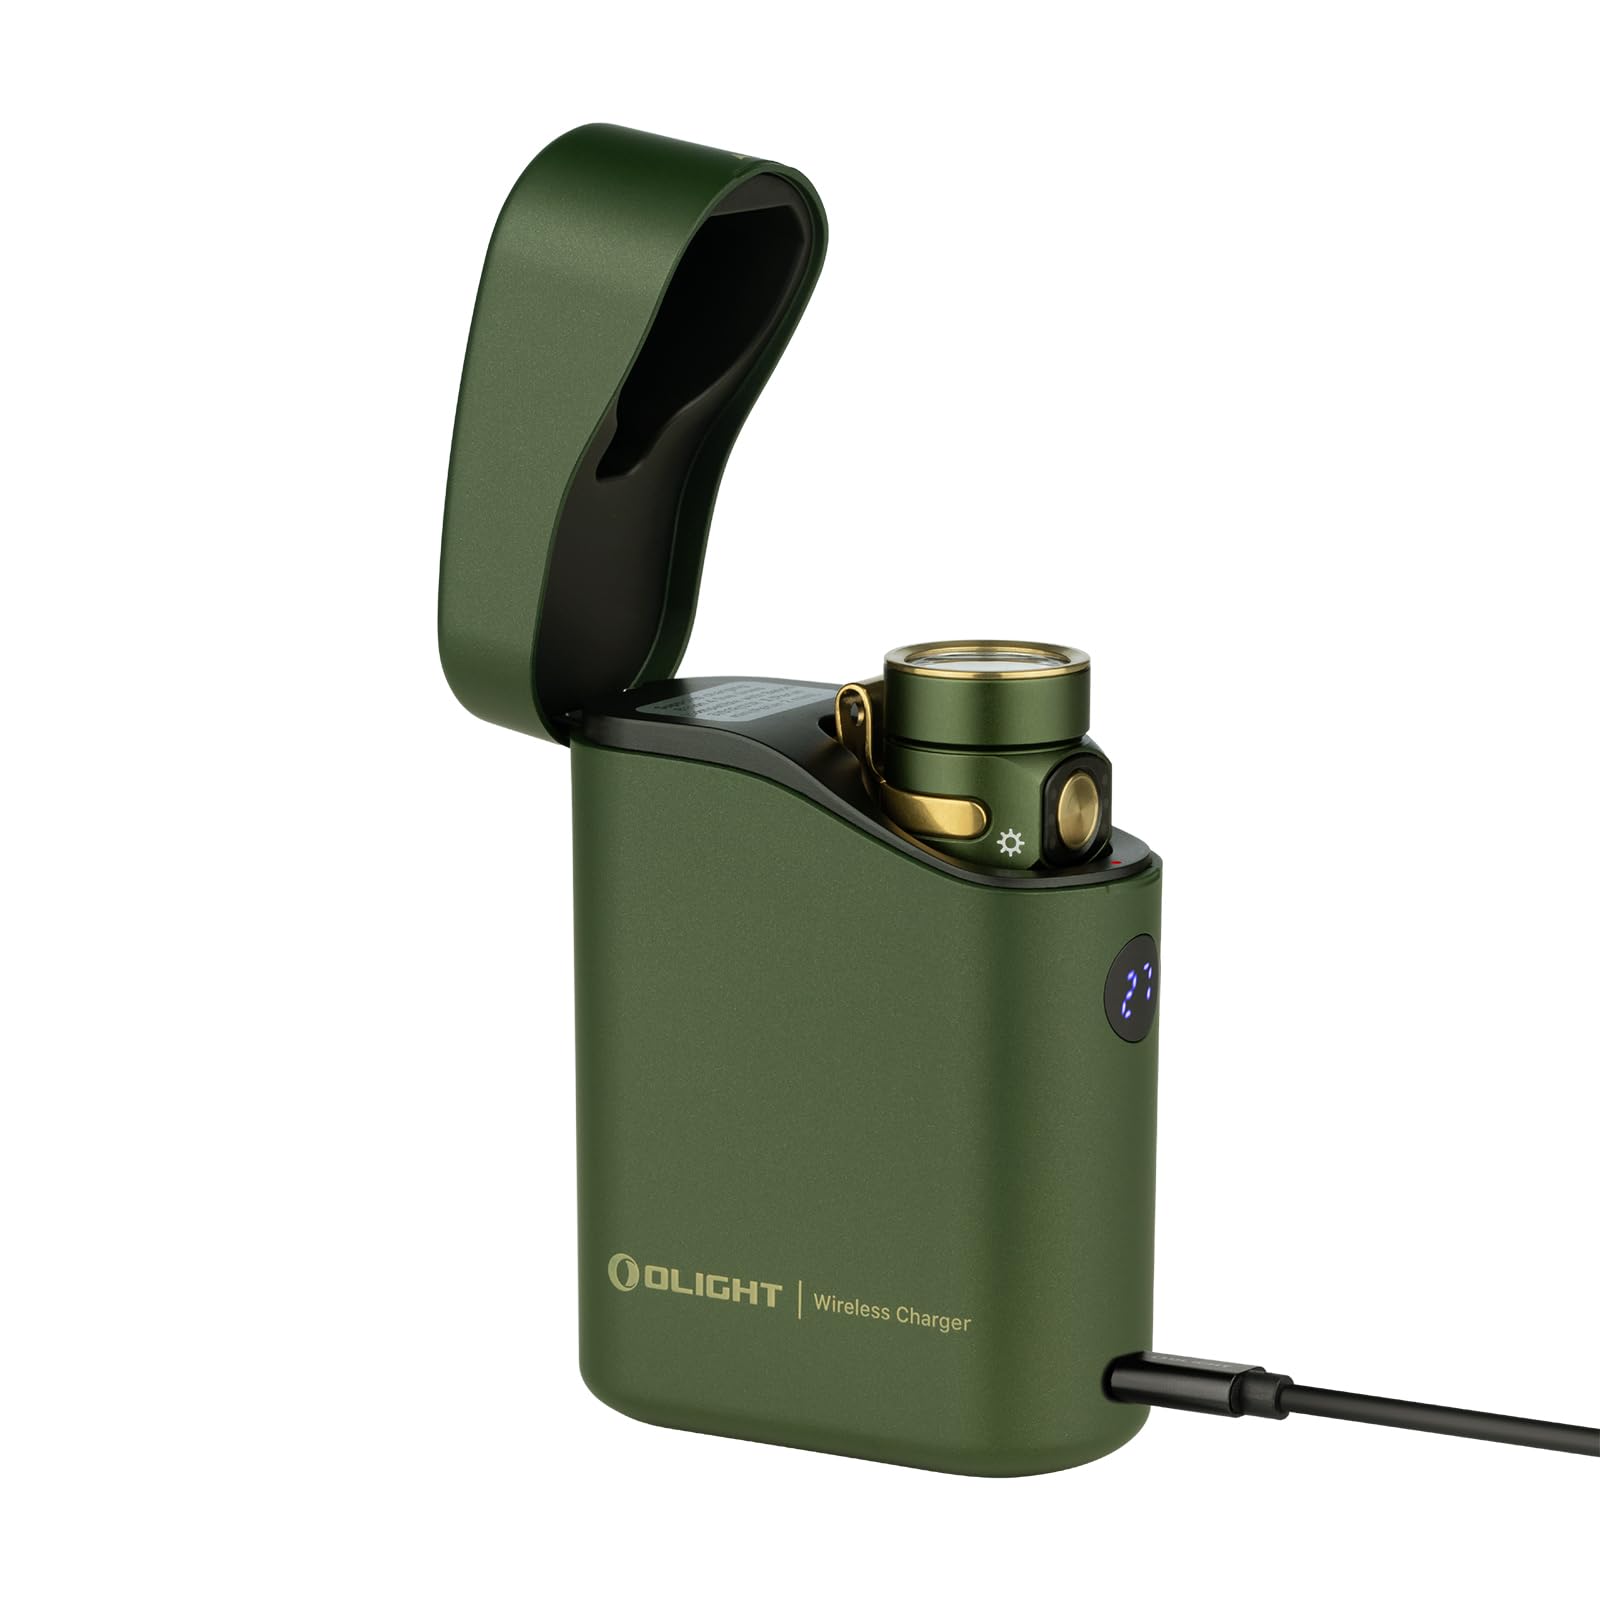
The PD35 V3 wins on the body-diameter standard, output, and 21700 runtime. Lights with thicker heads need oversized clamps; lights with stepped bodies can rotate in standard clamps. For a head-to-head with one of its closest competitors, our Olight S2R Baton II vs Fenix PD35 comparison breaks down the practical differences in mount compatibility and runtime.
Do I need an anti-roll ring on the head if it's clamped to the helmet?
Not for the helmet rig itself, but yes if you ever pull the light off the helmet for handheld use during a call. The PD35 V3 will roll off any tilted surface, and losing your only light in a debris pile during overhaul is the kind of mistake you only make once. A $3 silicone anti-roll ring solves the problem permanently.
How often should I replace the 21700 battery in a fire-service PD35 V3?
Replace any 21700 cell after roughly 300 full charge cycles, after any visible swelling or venting, or after any single heat-soak event above the cell's rated maximum. In practical volunteer fire-service use — call volumes of one to three runs per week — that usually works out to a replacement cycle of 18 to 24 months per cell. Keep a dated label on each cell so you can track its in-service life.
Key Takeaways
- Choosing the right fenix pd35 v3 for volunteer firefighters helmet mount overhaul means matching capacity and output ports to your actual devices
- Always check actual watt-hours (Wh), not just watts — runtime depends on Wh, not peak output
- Also covers: fenix pd35 v3 firefighter helmet mount
- Also covers: volunteer firefighter edc flashlight overhaul
- Also covers: helmet clip flashlight for firefighters
- Compare price-per-Wh across models to find the best value for your budget